Table of Contents
Hair color can completely transform your appearance. A fresh shade can make you feel more confident, younger, bolder, or simply refreshed after months of staring at the same reflection in the mirror. That is exactly why millions of people reach for Loreal hair color kits every year. They are affordable, easy to find, beginner-friendly, and available in almost every shade imaginable.
But here is the part many people do not talk about: even high-quality hair dye can produce disappointing results if it is used incorrectly. Uneven roots, brassy tones, faded color, dry ends, and patchy application are surprisingly common. Most of the time, the problem is not the product itself. It is the small mistakes people make before, during, and after coloring their hair.
The good news? Almost all of these mistakes are avoidable once you know what to watch for. Whether you are trying to cover grays, switch to a trendy blonde shade, or refresh your brunette color at home, understanding these common errors can save your hair from damage and save your wallet from expensive salon corrections later.
Before diving into the mistakes, here is a quick comparison chart of some popular Loreal hair color products you can consider depending on your hair goals.
Quick Comparison Chart: Popular Loreal Hair Color Products
| Product | Best For | Key Features | Longevity | Buy Now |
|---|---|---|---|---|
| Loreal Excellence Crème | Gray coverage | Triple protection system, rich conditioning | Permanent | Check Latest Price |
| Loreal Feria Multi-Faceted Color | Bold trendy shades | Shimmering tones, edgy colors | Permanent | Check Latest Price |
| Loreal Preference | Long-lasting shine | Fade-defying formula | Permanent | Check Latest Price |
| Loreal Casting Crème Gloss | Ammonia-free coloring | Gentle shine boost | Semi-permanent | Check Latest Price |
| Loreal Colorista | Temporary fun shades | Vibrant fashion colors | Wash-out/semi-permanent | Check Latest Price |
Why Hair Coloring at Home Has Become So Popular
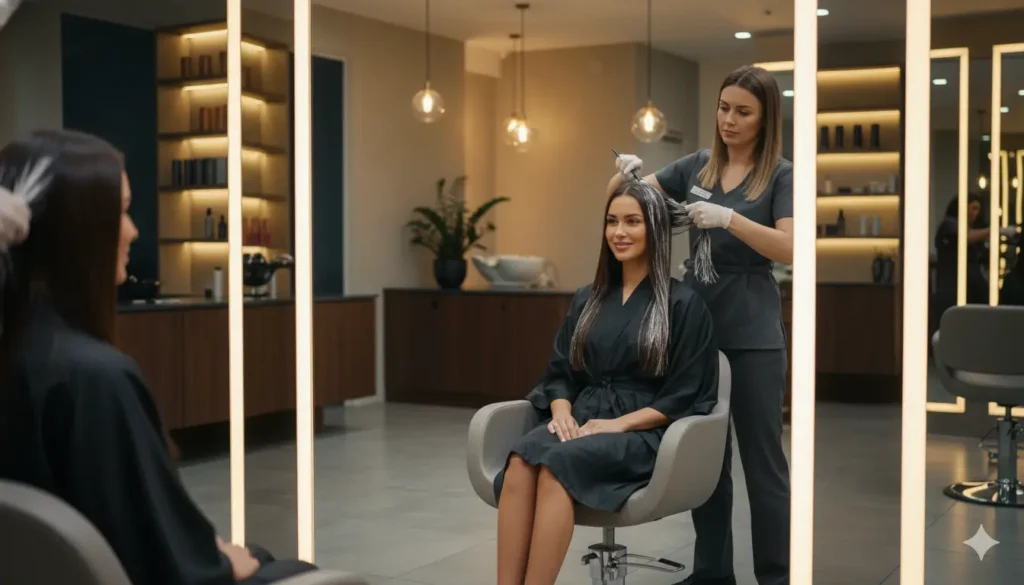
A decade ago, hair coloring at home felt risky. Most people either booked expensive salon appointments or avoided changing their hair completely because they feared disaster. Today, things are completely different. Social media tutorials, beauty influencers, and easy-to-use hair color kits have turned DIY hair coloring into a normal part of self-care routines around the world.
Loreal has played a huge role in that transformation. Their formulas are designed to simplify the coloring process while still delivering salon-inspired results. Instead of spending hundreds of dollars every few months, many people now achieve impressive color refreshes from the comfort of their bathroom. For busy parents, students, and professionals, this convenience is hard to beat.
Another reason DIY coloring exploded in popularity is personal expression. Hair color has become more than beauty maintenance. It is now tied to identity and creativity. Someone might choose warm caramel highlights for a soft natural glow, icy blonde for a bold modern look, or burgundy tones to stand out in a crowd. Hair color allows people to experiment without making permanent lifestyle changes.
Still, coloring your hair is a bit like cooking a complicated recipe without fully reading the instructions first. You may end up with something edible, but there is also a good chance things could go sideways. Small decisions like choosing the wrong undertone or leaving color on too long can completely change the outcome.
Understanding the most common Loreal hair color mistakes is not about scaring people away from DIY coloring. It is about helping you get the glossy, healthy-looking results you actually want instead of ending up frantically Googling “how to fix orange hair at midnight.”
Mistake #1 – Choosing the Wrong hair color Shade
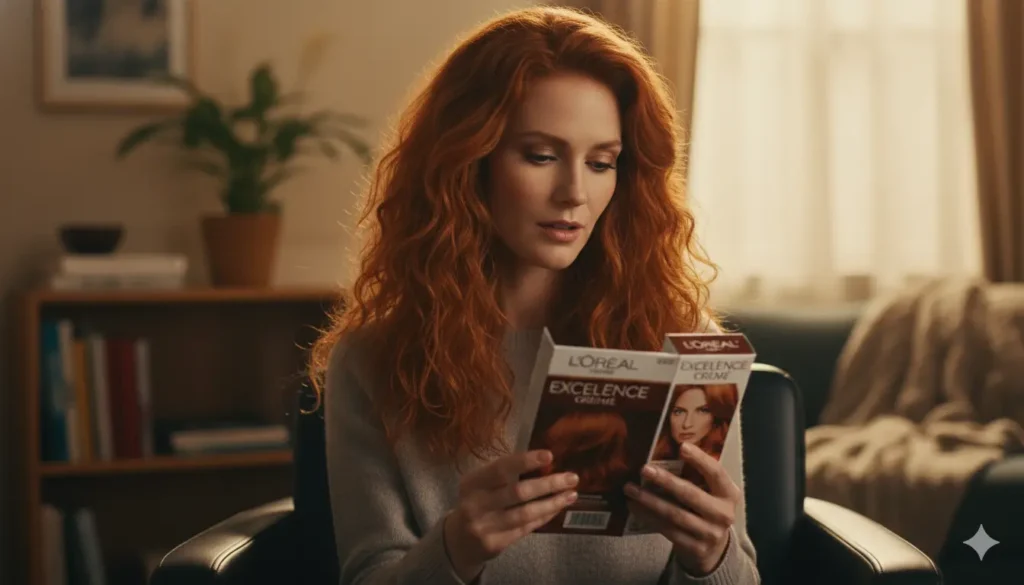
This is the biggest mistake people make, and honestly, it happens before the hair dye box is even opened. Picking the wrong shade can instantly ruin your expectations because hair color does not magically transform every starting color into the exact same result shown on the packaging.
One of the most common misconceptions is believing the model on the front of the box represents a guaranteed outcome. In reality, that image is more like a visual suggestion. Your final result depends on your current hair color, previous dye history, hair health, and natural undertones.
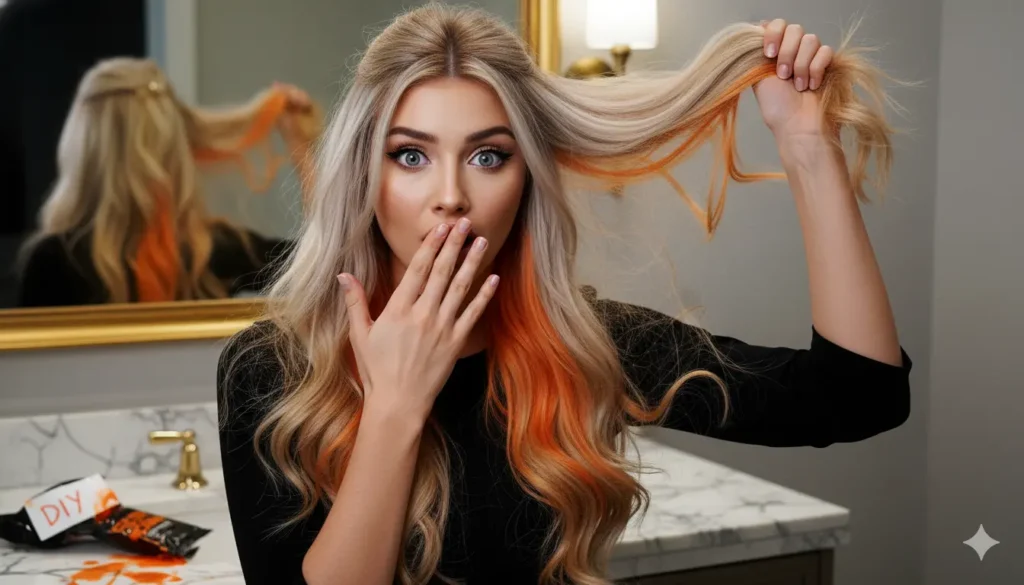
For example, someone with naturally dark brown hair trying to achieve platinum blonde in one session will almost always run into problems. Instead of cool blonde tones, the hair often turns orange or yellow because dark pigment must first be lifted through several warm stages before reaching pale blonde.
Undertones matter more than people realize. Warm shades contain gold, copper, and red pigments, while cool shades contain ash or blue undertones. Choosing the wrong undertone can clash with your skin and create an unnatural appearance. If your skin has warm golden undertones, ash-heavy shades may make your complexion look dull or gray. On the other hand, overly warm shades can make cool-toned skin appear red or flushed.
The smartest thing you can do is use the shade chart on the side or back of the box instead of relying on the front image. L’Oréal usually provides realistic examples based on your starting color level. Those charts are far more accurate than the glamorous model photo.
A strand test is another game changer. It may sound annoying, but testing one small hidden section first can save you from a full-head disaster. Think of it like testing paint on a wall before painting an entire room. Tiny previews can prevent huge regrets.
Mistake #2 – Loreal Hair color: Skipping the Patch Test
Most people ignore the patch test because they assume allergic reactions only happen to other people. That is exactly why this mistake is so dangerous. Hair dye reactions can happen suddenly, even if you have colored your hair many times before without issues.
Loreal hair color formulas, like most permanent dyes, contain ingredients designed to penetrate the hair shaft deeply. Some of these ingredients can trigger skin sensitivity or allergic responses. Symptoms range from mild itching and redness to swelling, blistering, and severe irritation.
Dermatologists continue to warn consumers about the importance of patch testing because reactions have become increasingly common over the years. Repeated exposure to hair dye chemicals can slowly build sensitivity over time, almost like how someone can suddenly develop allergies to foods they previously ate without problems.
The patch test itself is incredibly simple. Apply a tiny amount of mixed dye behind your ear or inside your elbow and wait 48 hours. If irritation develops, avoid using the product. Those few minutes of preparation can prevent days of discomfort or even emergency medical treatment.
People also forget that scalp condition matters. If your scalp already has scratches, eczema, sunburn, or irritation, hair dye may feel intensely painful during application. A damaged scalp barrier absorbs chemicals more aggressively, increasing sensitivity and discomfort.
Healthy coloring starts with healthy skin. Taking shortcuts with safety instructions is never worth the risk, especially when a quick test requires so little effort.
Mistake #3 – Applying Color on Dirty or Overly Clean Hair
There is a strange myth floating around beauty circles that the dirtier your hair is, the better hair dye works. While natural oils do help protect the scalp, excessively greasy hair can actually interfere with color absorption.
Heavy buildup from dry shampoo, oils, hairspray, leave-in conditioners, and pollution creates a barrier over the hair shaft. That barrier can prevent the dye from penetrating evenly, leading to patchy results. Imagine trying to paint over a greasy kitchen wall. The paint will struggle to stick properly.
At the same time, coloring freshly washed hair can also create problems. Shampooing immediately before dyeing strips away the scalp’s natural protective oils, leaving the skin more vulnerable to irritation and chemical sensitivity. This often leads to burning or itching during the coloring process.
Most professional colorists recommend washing your hair about one or two days before coloring. That timing allows your scalp to rebuild protective oils while still keeping the hair clean enough for even pigment absorption.
Hair type also changes how color behaves. Fine hair processes dye faster because the strands are thinner. Coarse or curly hair often needs extra moisture before coloring because naturally dry strands absorb pigment unevenly. Understanding your hair texture can dramatically improve your final result.
Water temperature matters too. Hot water opens the hair cuticle aggressively, which can lead to faster fading after coloring. Lukewarm water is generally the safest option for maintaining healthy color-treated hair.
Mistake #4 – Ignoring the Instructions
People often assume all hair dyes work the same way, so they skip reading the instructions entirely. That is a major mistake. Different L’Oréal product lines contain different formulas, processing times, and application methods.
One of the biggest issues involves timing. Leaving color on too long does not necessarily make it richer or more vibrant. Instead, it can over-process the hair, causing dryness, brittleness, or overly dark tones. Removing the dye too early creates the opposite problem: uneven or weak color payoff.
Another common mistake is incorrect mixing. Permanent hair dye formulas are carefully balanced between color pigment and developer. Changing the ratio or trying to “stretch” the product for longer hair can weaken the formula and ruin the final outcome.
Some users even combine different hair dye brands together, thinking they can create custom shades. That is risky because formulas are chemically designed to work with specific developers and ingredients. Mixing random products can produce unpredictable colors or damage.
Instructions also explain important details like root application timing and gray coverage techniques. Ignoring those guidelines often leads to uneven roots or patchy gray coverage, especially for beginners.
Hair dye is chemistry, not guesswork. Following the directions carefully gives you the highest chance of achieving professional-looking results at home.
Mistake #5 – Coloring Already Damaged Hair
Damaged hair and hair dye are a dangerous combination. If your hair already feels dry, stretchy, rough, or brittle, adding more chemicals can push it past the breaking point.
Hair becomes damaged from many things: heat styling, bleaching, sun exposure, tight hairstyles, chlorine, and repeated coloring. Once the hair cuticle becomes compromised, strands lose moisture rapidly and struggle to hold color evenly.
Porous damaged hair absorbs dye like a sponge, which may sound helpful at first. The problem is that it often absorbs too much pigment in certain areas while rejecting color in others. This creates blotchy, uneven tones that fade quickly.
One warning sign is excessive tangling after washing. Healthy hair usually feels smooth and manageable, while damaged hair knots easily and snaps under tension. If your ends feel crunchy or your hair breaks while brushing, prioritize repair before coloring again.
Deep conditioning treatments, protein masks, and trimming split ends can significantly improve hair health before your next coloring session. Sometimes waiting a few weeks and rebuilding moisture is the smartest decision you can make for long-term hair quality.
Coloring healthy hair always produces better shine, smoother texture, and longer-lasting results than coloring damaged strands.
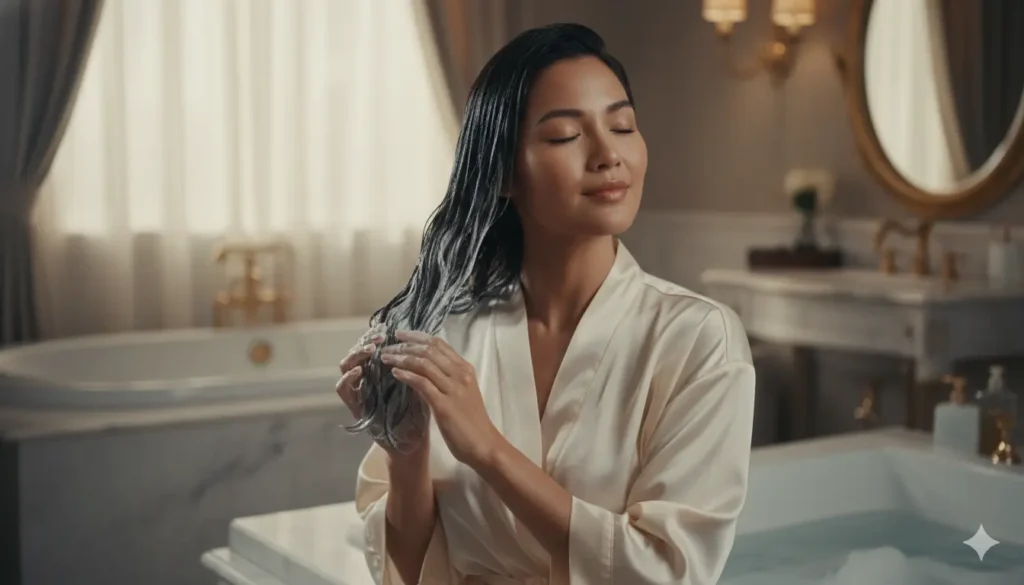
Mistake #6 – Loreal hair color: Forgetting Aftercare
Many people focus intensely on the coloring process itself and completely forget what happens afterward. The truth is that aftercare determines how long your color stays vibrant.
Regular shampoos often contain harsh sulfates that strip away pigment quickly. Using sulfate-free products designed for color-treated hair helps maintain brightness and reduce fading. L’Oréal and other professional brands offer shampoos specifically formulated for this purpose.
Heat styling is another major culprit behind fading. Flat irons, curling wands, and blow dryers weaken the hair cuticle over time, allowing color molecules to escape more easily. Excessive heat can turn rich brunette shades dull and make blonde tones appear brassy faster.
Sun exposure also affects color longevity more than people expect. UV rays break down hair pigment similarly to how sunlight fades furniture or clothing over time. Wearing hats or using UV-protectant sprays can help preserve your shade.
Hydration is essential too. Color-treated hair loses moisture more easily, so weekly conditioning masks can dramatically improve softness and shine. Healthy hydrated hair reflects light better, making your color appear richer and more dimensional.
Aftercare is not optional. It is the difference between color that looks salon-fresh for weeks and color that appears faded after only a few washes.
Mistake #7 – Expecting Instant Salon Results
Social media has created unrealistic expectations about at-home hair coloring. Watching a 30-second transformation video makes dramatic color changes look effortless, but real hair chemistry does not work that way.
Professional stylists spend years learning color theory, bleaching techniques, toning methods, and hair health management. Expecting one box dye session to completely transform dark hair into icy platinum perfection is usually unrealistic.
Certain color goals require multiple sessions. Lightening dark hair safely often involves gradual lifting to avoid severe damage. Trying to rush the process can leave hair fried, rubbery, or severely broken.
Another thing many people overlook is lighting. Hair color looks different indoors, outdoors, under warm lights, and in natural sunlight. A shade that seems slightly copper indoors may appear extremely orange outside.
Salon-quality results are absolutely possible at home, but realistic expectations matter. Small improvements, healthy shine, and gradual color transitions often look far more beautiful than dramatic over-processed transformations.
Patience almost always produces healthier, prettier hair in the long run.
Tips for Getting Better Results With Loreal Hair Color
If you want your at-home coloring experience to go smoothly, a few smart habits can make a huge difference:
| Tip | Why It Helps |
|---|---|
| Perform a strand test first | Prevents unexpected color surprises |
| Use gloves and section hair carefully | Creates more even application |
| Apply petroleum jelly around hairline | Prevents skin staining |
| Invest in color-safe shampoo | Extends color longevity |
| Avoid washing hair daily | Reduces fading |
| Deep condition weekly | Keeps color-treated hair healthy |
| Use cool water when rinsing | Helps seal the cuticle |
Tiny improvements in technique often produce surprisingly dramatic results.
Conclusion
Coloring your hair at home with Loreal hair color products can be fun, affordable, and genuinely rewarding when done correctly. The key is understanding that beautiful hair color is not just about choosing a pretty shade. Preparation, application, timing, and aftercare all play equally important roles.
Most hair color mistakes happen because people rush the process or expect instant perfection. Choosing the wrong shade, skipping patch tests, ignoring instructions, or coloring damaged hair can quickly turn excitement into frustration. Fortunately, these problems are preventable with a little patience and knowledge.
Healthy hair always creates the best foundation for great color. When you combine realistic expectations with proper care, at-home coloring becomes far less intimidating and far more successful.
Your dream hair color is absolutely achievable — just avoid the shortcuts that sabotage results before the dye even touches your hair.
FAQs
How long does Loreal hair color usually last?
Most permanent Loreal hair colors last between 6 to 8 weeks depending on washing frequency, hair condition, and aftercare routine.
Can I dye my hair twice in one week?
It is usually not recommended because repeated chemical processing can weaken and damage the hair significantly.
Which Loreal hair color is best for gray coverage?
Loreal Hair Color-Excellence Crème is one of the most popular options for full gray coverage due to its rich pigment and conditioning formula.
Why did my hair turn orange after coloring?
Orange tones usually appear when dark hair is lightened without enough lifting or toning to neutralize warm underlying pigments.
Should I wash my hair before coloring it?
It is generally best to wash your hair 24–48 hours before coloring so natural oils can protect the scalp while keeping the hair clean enough for even color absorption.
Thank you for giving your valuable time to thebeautybinge.

7 Common Loreal Hair Color Mistakes You Should Avoid
Quick Comparison Chart: Popular Loreal Hair Color ProductsWhy Hair Coloring at Home Has Become So…
10 Best Moisturizer for Dry Skin That Instantly Transform Your Glow
Understanding Dry Skin and Why It Needs Special CareCommon Causes of Dry SkinSigns Your Skin…

10 Best Sunscreen for Oily Skin That Won’t Make You Greasy (Dermatologist Approved!)
Why best Sunscreen for Oily Skin Is Essential Common Myths About Oily Skin and SunscreenThe…
Top 10 Keratin Treatment Mistakes That Are Ruining Your Hair
Understanding Keratin TreatmentsWhat Is a Keratin Treatment?How Keratin Affects Hair HealthQuick Product Comparison Chart (For…
Best BB Cream Guide (2026): Benefits, Uses, Comparison & Top Picks
What Is BB Cream?Quick Comparison Chart of Top BB Cream BrandsKey Benefits of Using BB…
Best Lip Balms Under ₹500 That Deliver Luxury Results
Quick Comparison Chart of Best Lip Balms Under ₹500Why Affordable Lip Balms Can Feel LuxuriousThe…
Great content! Keep up the good work!